

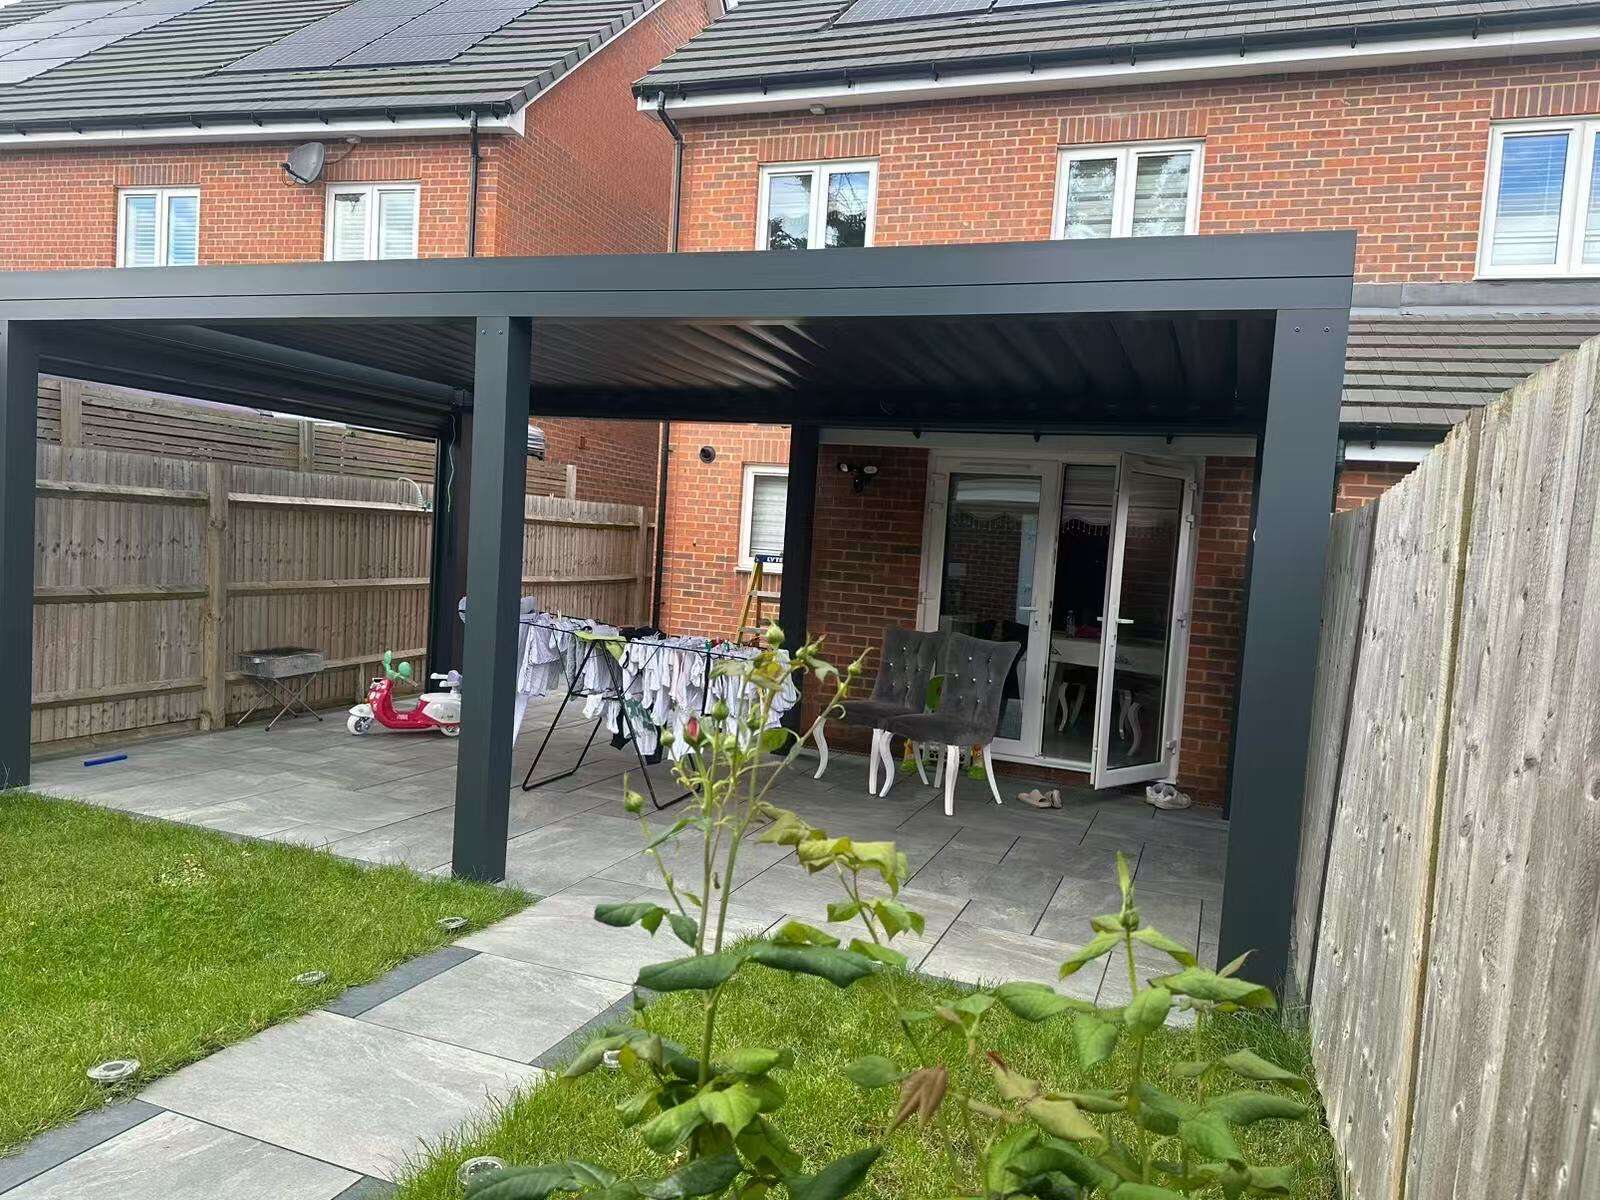
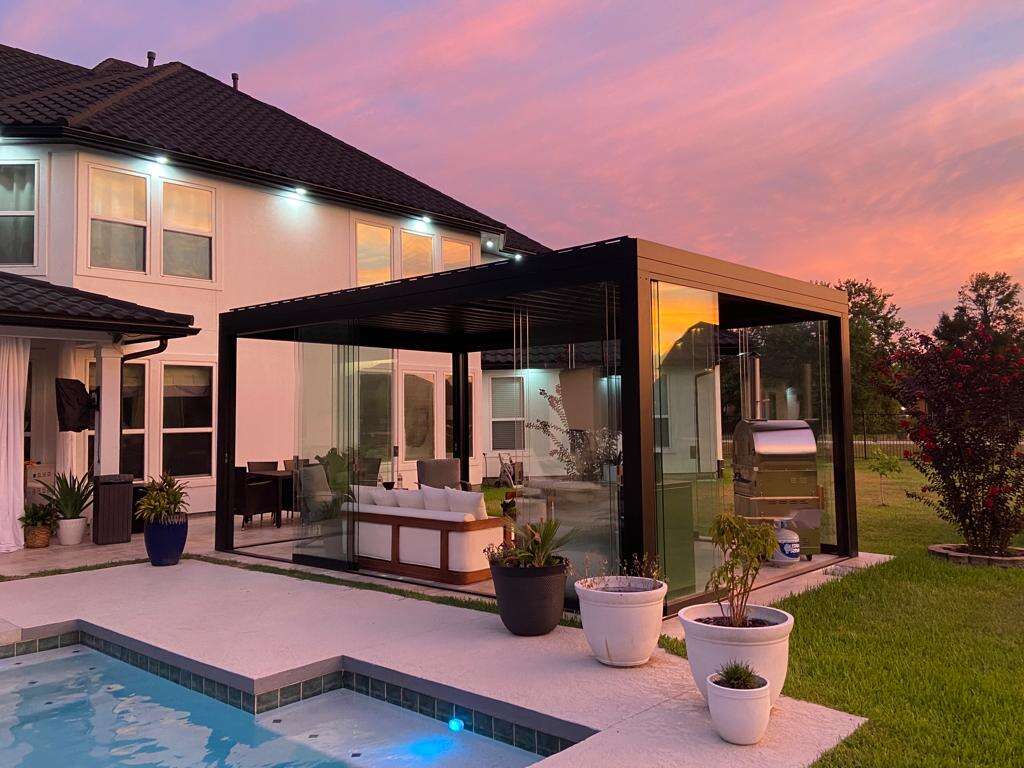
Installing a pergola can transform your outdoor space into an elegant retreat, but many homeowners wonder whether they can tackle this project independently. While professional installation offers expertise and warranty coverage, a well-planned DIY pergola installation is entirely feasible for those with basic construction skills and the right tools. The key to success lies in understanding the complexity of your chosen design, preparing adequately, and following proper installation procedures throughout the entire process.
Essential Tools and Materials for DIY Pergola Installation
Basic Tool Requirements
Successfully installing a pergola requires specific tools that ensure precision and safety throughout the construction process. A circular saw or miter saw becomes essential for cutting lumber to exact specifications, while a drill with various bits handles both pilot holes and fastener installation. Level tools, including both a standard level and a longer construction level, ensure your pergola structure maintains proper alignment and stability.
Additional tools include a post-hole digger or auger for foundation work, measuring tape for accurate dimensions, and a socket wrench set for securing bolts and hardware. Safety equipment such as protective eyewear, work gloves, and sturdy footwear should never be overlooked during pergola construction. Having these tools readily available before beginning installation prevents delays and ensures professional-quality results.
Material Selection and Preparation
Choosing appropriate materials significantly impacts both the installation process and long-term performance of your pergola. Pressure-treated lumber offers excellent durability and weather resistance, making it ideal for outdoor structures. Cedar and redwood provide natural beauty and inherent weather protection, though they typically require higher initial investment compared to treated pine options.
Hardware selection plays a crucial role in pergola stability and longevity. Galvanized or stainless steel bolts, screws, and brackets resist corrosion while providing strong structural connections. Concrete footings ensure permanent installation, while adjustable post anchors offer flexibility for future modifications. Pre-cutting materials to specified dimensions streamlines the installation process and reduces potential measurement errors during construction.
Site Preparation and Foundation Planning
Location Assessment and Permits
Proper site evaluation forms the foundation of successful pergola installation, requiring careful consideration of multiple factors that affect both construction and long-term enjoyment. Underground utilities must be identified and marked before any digging begins, preventing costly damage and ensuring safety throughout the installation process. Local building codes may require permits for pergola construction, particularly for attached structures or those exceeding specific size limitations.
Drainage patterns around the proposed pergola location influence foundation design and long-term structural integrity. Poor drainage can lead to water pooling, soil erosion, and eventual foundation instability. Additionally, considering sun exposure, prevailing winds, and proximity to existing structures helps optimize the pergola placement for maximum functionality and aesthetic appeal.
Foundation Options and Installation
Foundation selection depends on soil conditions, local climate, and intended pergola use, with each option offering distinct advantages and installation requirements. Concrete footings provide maximum stability and permanence, particularly suitable for larger pergola structures or areas with challenging soil conditions. The installation process involves digging holes at least 24 inches deep, setting posts in concrete, and allowing proper curing time before proceeding with frame construction.
Alternative foundation methods include surface-mounted anchors and adjustable post bases, which offer easier installation and future relocation possibilities. These systems work well for smaller pergola designs or temporary installations, though they may require additional bracing for optimal stability. Regardless of foundation choice, ensuring level installation and proper post spacing remains critical for successful pergola construction.
Step-by-Step Installation Process
Frame Assembly and Post Installation
Beginning with post installation establishes the structural foundation that supports the entire pergola framework. Mark post locations precisely according to your design plans, ensuring square corners and proper spacing between all support points. When setting posts in concrete footings, use temporary bracing to maintain plumb alignment while the concrete cures, typically requiring 24 to 48 hours depending on weather conditions and concrete type.
Frame assembly proceeds systematically, starting with horizontal support beams that connect the vertical posts. These beams distribute weight evenly across the structure and provide the foundation for roof beam installation. Using appropriate fasteners and ensuring tight connections at all joint points prevents future sagging and maintains structural integrity throughout changing weather conditions.
Roof Beam and Rafter Installation
Installing roof beams requires careful measurement and precise cutting to ensure proper fit and visual appeal across the entire pergola structure. Begin by marking beam locations on the support frame, maintaining consistent spacing for both structural integrity and aesthetic balance. Pre-drilling holes prevents wood splitting during fastener installation, particularly important when working with hardwood materials or near beam ends.
Rafter installation completes the primary structural elements, creating the distinctive pergola appearance while providing mounting points for optional shade elements or climbing plants. Ensure each rafter sits securely in its designated position, with proper overlap on support beams for maximum connection strength. Double-check measurements and alignment before final fastening, as corrections become significantly more difficult once all components are permanently secured.
Common Installation Challenges and Solutions
Structural Alignment Issues
Maintaining proper alignment throughout pergola installation presents ongoing challenges that require constant attention and periodic adjustments. Posts that gradually shift during concrete curing can throw off the entire structure, making beam installation difficult and compromising final appearance. Regular checking with level tools and temporary bracing systems helps prevent these alignment issues from developing into major problems.
Uneven ground conditions complicate pergola installation by creating varying post heights and challenging foundation work. Addressing these issues early in the process, through careful site preparation and strategic foundation planning, prevents costly corrections later in construction. When ground irregularities cannot be completely eliminated, adjustable post systems and careful measurement help maintain proper pergola alignment despite challenging site conditions.
Weather and Environmental Factors
Weather conditions significantly impact pergola installation timing and procedures, particularly during foundation work and finishing stages. Rain can interfere with concrete curing, while extreme temperatures affect material expansion and worker comfort throughout the installation process. Planning installation during favorable weather windows and having contingency plans for unexpected conditions helps ensure project success.
Environmental factors such as wind exposure and soil composition influence both installation procedures and long-term pergola performance. Areas with high wind loads may require additional bracing or deeper foundations to prevent structural movement. Clay soils present drainage challenges, while sandy conditions may require larger footings for adequate stability. Understanding these environmental factors enables appropriate design modifications and installation adaptations.
Safety Considerations and Best Practices
Personal Safety Protocols
Safety protocols during pergola installation protect both the installer and bystanders while ensuring project completion without injury or property damage. Working at height requires proper ladder safety, including stable positioning, three-point contact, and appropriate helper assistance for material handling. Power tool safety becomes critical when cutting lumber and drilling holes, requiring proper protective equipment and careful attention to manufacturer guidelines.
Lifting techniques prevent back injury during pergola construction, particularly when handling heavy beams and posts. Using mechanical advantage through proper lifting form, recruiting adequate help, and employing lifting aids when necessary protects against strain injuries. Additionally, maintaining clean work areas and properly storing tools reduces trip hazards and keeps sharp implements safely organized throughout the installation process.
Structural Safety Requirements
Structural safety encompasses proper fastener selection, adequate spacing between support elements, and appropriate load calculations for intended pergola use. Over-engineering structural connections provides safety margins that account for unexpected loads, weather events, and material aging over time. Following established building codes, even when permits are not required, ensures pergola construction meets accepted safety standards.
Regular inspection during construction identifies potential safety issues before they become serious problems, allowing for immediate correction and preventing future structural failures. Checking fastener tightness, verifying connection integrity, and ensuring proper load distribution helps maintain safety throughout the installation process. Post-installation inspections should continue periodically to identify wear, weather damage, or other conditions that might compromise pergola safety.
Cost Analysis and Professional vs DIY Comparison
Financial Considerations
Understanding the total cost of DIY pergola installation requires careful consideration of materials, tools, and time investment compared to professional installation expenses. Material costs typically represent the largest expense category, varying significantly based on pergola size, design complexity, and material quality choices. Tool acquisition or rental adds to project costs, though these tools often prove useful for future home improvement projects.
Hidden costs in DIY pergola installation include permit fees, concrete and hardware expenses, and potential correction costs for installation errors. Professional installation provides cost predictability through fixed pricing, though it typically costs 50 to 100 percent more than DIY approaches. Factoring in time value and potential warranty coverage helps determine whether professional installation offers better overall value for specific situations.
Skill Requirements Assessment
Evaluating your construction skills honestly determines whether DIY pergola installation represents a realistic undertaking or requires professional assistance. Basic carpentry skills, including accurate measuring, straight cutting, and secure fastening, form the foundation of successful pergola construction. Experience with concrete work, while helpful, can be developed through research and careful attention to proper procedures.
Complex pergola designs with curved elements, intricate joinery, or structural modifications may exceed typical DIY skill levels and benefit from professional expertise. However, standard rectangular pergola designs with straightforward post-and-beam construction fall within the capabilities of most motivated homeowners. Assessing your available time, physical capabilities, and willingness to learn new techniques helps determine the most appropriate installation approach.
Maintenance and Long-Term Care
Preventive Maintenance Strategies
Proper maintenance extends pergola lifespan significantly while preserving both structural integrity and aesthetic appeal throughout changing seasons and weather conditions. Regular cleaning removes dirt, pollen, and organic debris that can trap moisture and accelerate material deterioration. Annual inspection identifies loose fasteners, developing cracks, or other issues that require attention before they become major problems.
Protective treatments such as staining or sealing help preserve wood materials against moisture penetration, UV damage, and insect infestation. The frequency of these treatments depends on material type, climate conditions, and exposure levels, typically ranging from every two to five years. Maintaining proper drainage around pergola foundations prevents water damage and soil erosion that could compromise structural stability.
Repair and Modification Options
Understanding common pergola repair needs enables proactive maintenance and extends structure lifespan through timely interventions. Loose fasteners require periodic tightening, while split or cracked lumber may need replacement to maintain structural integrity. Properly installed pergola structures should provide decades of service with appropriate maintenance and occasional component replacement.
Modification opportunities allow pergola adaptation to changing needs or aesthetic preferences over time. Adding shade elements, lighting systems, or climbing plant supports enhances functionality without requiring complete reconstruction. Planning for future modifications during initial installation, through strategic fastener placement and structural design choices, enables easier upgrades and personalization options.
FAQ
What tools are absolutely necessary for DIY pergola installation
Essential tools for pergola installation include a circular or miter saw for cutting lumber, a drill with various bits for pilot holes and fasteners, levels for ensuring proper alignment, and a post-hole digger for foundation work. Additionally, you will need measuring tape, socket wrenches, safety equipment including protective eyewear and gloves, and temporary bracing materials to maintain alignment during construction.
How long does it typically take to install a pergola without professional help
DIY pergola installation typically requires 2-4 days for a standard 10x12 foot structure, depending on design complexity and your construction experience. This timeline includes site preparation, foundation work with concrete curing time, frame assembly, and final details. Larger pergola structures or complex designs may require additional time, while smaller simple designs could be completed in a single weekend with proper preparation.
What are the most common mistakes in DIY pergola installation
Common DIY pergola installation mistakes include inadequate foundation depth leading to instability, improper post spacing that affects structural integrity, and failing to check for square corners throughout construction. Other frequent errors include insufficient concrete curing time, using inappropriate fasteners for outdoor exposure, and neglecting to account for material expansion and contraction in connection design.
Do I need permits for installing a pergola on my property
Permit requirements for pergola installation vary by location and structure specifications, with many areas requiring permits for attached pergola structures or those exceeding specific size limitations. Freestanding pergola structures under certain square footage limits often do not require permits, but checking with local building authorities ensures compliance with current regulations. Even when permits are not required, following established building codes ensures safe and proper pergola construction.
Table of Contents
- Essential Tools and Materials for DIY Pergola Installation
- Site Preparation and Foundation Planning
- Step-by-Step Installation Process
- Common Installation Challenges and Solutions
- Safety Considerations and Best Practices
- Cost Analysis and Professional vs DIY Comparison
- Maintenance and Long-Term Care
- FAQ